Optimal Lightroom Apk Export Settings for Instagram, Facebook, Print, and More
Mastering Lightroom export settings is a fundamental skill for anyone who considers themselves an expert in its workflow. Export settings play a crucial role in achieving optimal results across various platforms and uses. To address the common questions from Lightroom users about the best export practices, I am developing an in-depth guide designed to clarify and streamline the export process for all types of media. Additionally, if you wish to access the full range of features available in the Lightroom Mobile App at no cost, you can download the Lightroom Mod APK from this website.
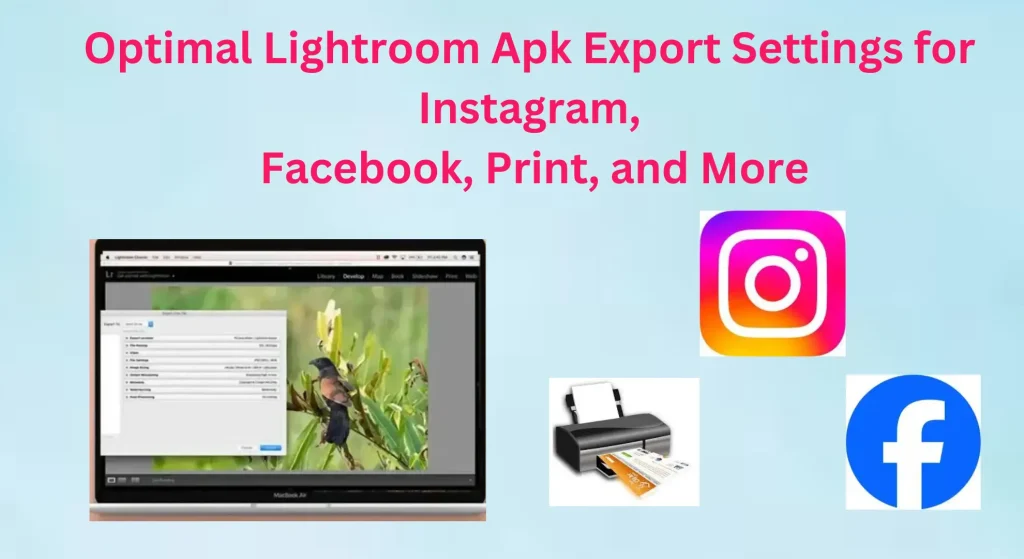
Importance of Export Settings in lightroom
Mastering Lightroom export settings is crucial for ensuring image quality, size, tone, format, and dimensions are maintained. Proper export settings help preserve the details and resolution you’ve worked to achieve, aligning the final output with your expectations. By selecting the right options, you can enhance image quality and resolution, optimizing results for each platform. Tailoring export settings for specific platforms like Instagram, Facebook, and Pinterest—whether for photos, videos, or reels—ensures that your content is displayed correctly, maximizing its impact and visual appeal.
Imagine elevating your image editing in Lightroom only to face disappointment when printing due to incorrect export settings, or crafting a perfect Facebook thumbnail that doesn’t display as intended because the settings weren’t optimized. This highlights why understanding Lightroom’s export settings is crucial to ensure your creative work is showcased as envisioned.
This guide will be your definitive resource for mastering export settings for Instagram, Facebook, web, print, and more—empowering you to export images seamlessly with precision and confidence.
Selection of Images
To select images for export in Lightroom, follow these steps:
- Select the first image by right-clicking on it.
- Hold down the Shift key.
- Click on the last image in the bottom row to select all images in between.
If you prefer to select individual images randomly rather than a consecutive range, use these steps:
- Click on the first image from your edited photos.
- Hold down the Command key on Mac (or Control on Windows).
- Click on each desired image to select them.
This will allow you to export either a full range or a custom selection of images efficiently.
General Export Settings
Once you’ve selected your desired images, navigate to the top menu, click on “File”, and select “Export” from the dropdown. A pop-up window will appear, where you’ll need to configure each section to achieve optimal export settings.
- Export To: At the top of the pop-up window, select “Hard Drive” from the “Export To” dropdown.
- Export Location: In this section, configure the following options:
- Export To: Choose “Desktop” (or your preferred destination).
- Put in Subfolder: Check this box and name your subfolder as desired.
- Add to This Catalog: Leave this option unchecked.
- Existing Files: Select “Ask what to do” to avoid overwriting existing files unintentionally.
- File Naming: If you wish to rename your files, select “Custom Settings” from the Rename To dropdown. You can also click “Edit” to customize the naming convention to fit your preferences.
By following these steps, you’ll ensure that your export settings are optimized for your workflow and specific needs.
Best Optimized Lightroom Export Settings
The steps we previously covered make it simple to export edited images from Lightroom, but here, we’ll dive into the optimal export settings for specific platforms. Let’s start with Instagram, one of the most popular platforms for sharing images and videos.
Export Settings for Instagram

Instagram is a dynamic platform for showcasing your personal brand, sharing captivating photos and videos, and connecting with a broad audience. To make sure your images stand out in stories, posts, or reels, Lightroom offers tools to fine-tune them according to Instagram’s specific requirements. Mastering these settings ensures your visuals look their absolute best on the platform. Follow these settings for superior results:
| Export Settings | Specified Values |
|---|---|
| Image Format | JPEG |
| Color Space | sRGB |
| Quality | 100 |
| Limit File Size To | Unchecked |
| Resize to Fit | Short Edge |
| Pixels | 1080 |
| Don’t Enlarge | Checked |
| Resolution | 240 ppi |
| Sharpen For | Screen |
| Amount | High |
| Watermark | Simple copyright watermark |
This structured design ensures clarity and highlights each setting for easy reference. The specifications will guarantee high-quality exports, perfectly optimized for Instagram.
Export Settings For Print

For print purposes, it’s essential to use high-resolution images with no restrictions on size, unlike images for web or social media. Below are the optimal Lightroom export settings for printing, designed to produce high-quality results:
| Export Settings | Specified Values |
|---|---|
| Image Format | JPEG |
| Color Space | sRGB (or AdobeRGB for higher color accuracy) |
| Quality | 94% |
| Limit File Size To | Unchecked |
| Resize to Fit | Long Edge |
| Pixels | 1000 px (adjust as needed for larger prints) |
| Don’t Enlarge | Unchecked |
| Resolution | 300 ppi (ideal for high-quality prints) |
| Sharpen For | Matte Paper |
| Amount | Standard |
| Watermark | Unchecked (optional depending on your needs) |
These settings ensure that your images are optimized for print, delivering high resolution and fine detail, while still maintaining color accuracy and sharpness on paper.
Export Settings for Website & Blog
| Export Settings | Specified Values |
|---|---|
| Export To | Same folder as original photo |
| Put in Sub-folder | 1 web (create a dedicated folder for web images) |
| Image Format | JPEG |
| Color Space | sRGB (ideal for web) |
| Quality | 94% |
| Limit File Size To | Unchecked |
| Resize to Fit | Long Edge |
| Pixels | 1600 px (suitable for web display) |
| Don’t Enlarge | Unchecked |
| Resolution | 72 ppi (recommended for web use) |
| Sharpen For | Screen |
| Amount | Standard |
| Watermark | Simple copyright watermark (optional) |
By using these settings, you’ll optimize your images for faster load times and improved SEO performance, while still maintaining quality, making your site more Google-friendly.
Export Settings for Facebook

To ensure your images look great on Facebook and achieve optimal performance, follow these export settings. These specifications help maintain image quality while adhering to Facebook’s requirements:
| Export Settings | Specified Values |
|---|---|
| Image Format | JPEG |
| Color Space | sRGB |
| Quality | 90% |
| Limit File Size To | Unchecked |
| Resize to Fit | Long Edge |
| Pixels | 2048 px (ideal for high-quality display) |
| Don’t Enlarge | Checked |
| Resolution | Not applicable |
| Sharpen For | Screen |
| Amount | Standard |
| Watermark | Simple copyright watermark (optional) |
These settings ensure your images are optimized for Facebook’s display requirements, enhancing visual appeal and engagement.

![How to Smooth Skin in Lightroom: Step-by-Step Guide [2024] 6 How to Smooth Skin in Lightroom: Step-by-Step Guide [2024]](https://lrapk.pro/wp-content/uploads/2024/08/HOW-TO-SMOOTH-SKIN-USING-LR-APK-768x419.webp)
![How to Add Watermarks in Lightroom 2024 [Android, iOS, PC] – Protect Your Photos Across All Devices 10 How to Add Watermarks in Lightroom 2024 [Android, iOS, PC] – Protect Your Photos Across All Devices](https://lrapk.pro/wp-content/uploads/2024/08/LRAPK.Pro-1-768x419.webp)